How to Dry Wall Cavities and Cabinets Damaged by Water
After significant water damage from storms, flooding, or burst pipes, it’s crucial to address the moisture trapped in wall cavities and cabinets to prevent the growth of mold, mildew, and bacteria, not to mention compromise structural integrity. This is known as secondary damage. Microbial growth will occur on the paper surface of gypsum wallboard if allowed to remain wet for extended periods of time. In most cases, this form of damage requires the removal of the affected material.
This guide provides step-by-step instructions on how to dry these spaces effectively, helping you manage the restoration process while preventing secondary damage.
Drying Wall Cavities
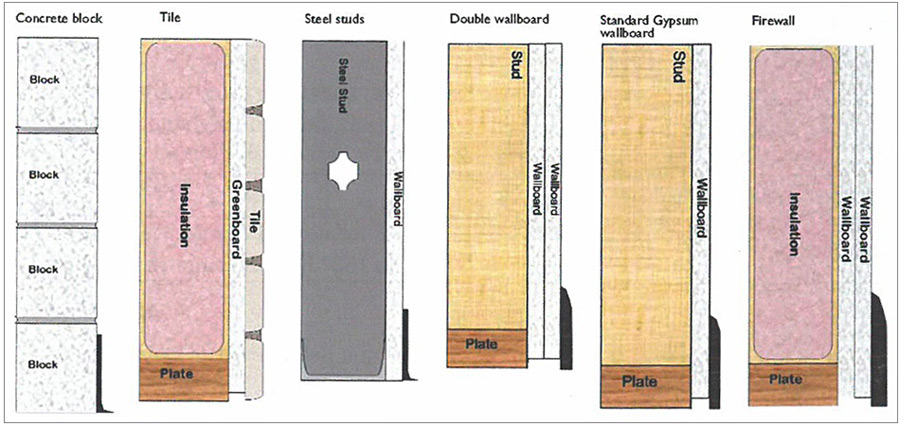
Wet walls can present a challenge to water damage restoration professionals. Walls are usually covered with a variety of finished surfaces, making choosing the appropriate drying technique difficult. Here's how to handle different scenarios:
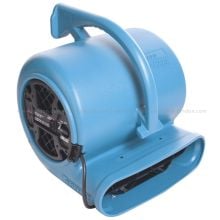
- Standard Wallboard with Flat Paint: Use an air mover to blow warm, dry air along the wall surface. This method is generally sufficient for walls with a single layer of wallboard.
- Walls with Vinyl Wallpaper or Multiple Layers: Drill holes to facilitate airflow within the cavity, which increases evaporation rates. Connect air movers to a dehumidifier or use direct heat to enhance drying.
- Baseboard Technique: To minimize repairs, remove baseboards and drill holes at floor level. This hides the holes once the baseboard is replaced, simplifying post-restoration repairs.
- Concrete Block Overlays: If drywall is mounted over concrete blocks without insulation, it’s generally dryable without invasive techniques.
- Extensively Damaged Walls: For walls with severe moisture damage, removing wet wallboard and insulation might be necessary. Evaluate this option carefully, as it is the most disruptive and costly.
Typically, gypsum wallboard that has not sustained primary damage will restore quite well. All of the gypsum's strength is restored through the drying process, and sometimes even enhanced. Minimal swelling can sometimes occur, causing tape joints and fastener heads to become visible. If this should happen, and repairs cannot be made, the wallboard must be replaced.
Drying Cabinets / Vanities
When drying cabinets and vanities, it is essential that restoration professionals take extra care to minimize damage while still thoroughly drying the structure. Unlike drywall, which can be easily patched and painted, holes drilled into cabinets cause permanent damage that ruins the entire cabinet (and greatly upsets the homeowner).
- Toe-Kick Drilling: The best non-invasive approach is to drill holes through the toe-kick, which is often removable or replaceable.
- Alternative Drilling Points: If toe-kick access isn't available, consider drilling through the bottom shelving, the wall behind the cabinets, or the cabinet’s back wall where holes are less noticeable and easier to repair.
General Safety and Compliance
When drilling holes for your wall drying system, always use an adjustable drill stop to minimize penetrating plumbing or electrical lines hidden behind the wall.
Be sure to follow the EPA's Lead RRP procedures when drilling into drywall in buildings built before 1978. Older buildings may have lead paint, and it is essential for the protection of you, your crew, and building occupants that safe lead abatement procedures are followed.
For additional guidance on specific equipment or techniques, and to ensure compliance with the latest industry standards, contact a Jon-Don restoration expert at 1-800-556-6366.
We pay the shipping charge, including hazardous material fees, on this item. There's no catch. No "buy this to get that" requirement.
Note: If your order contains items that are not eligible for free shipping, your order total will include our competitive shipping rates for those non-eligible items only. This shipping policy only applies to orders shipped within the Contiguous U.S.


